Category Archives: Chocolate

Breakaways — Not (Breaking) Bad at All!

breakaways1

“All the Way” is almost two weeks into the preview part of putting together a Broadway show, having begun its previews on February 11. James always says that previews are often harder than technical rehearsals.  During tech, the hours are long but you go through the show in order from beginning to end. During previews, you are onstage with sets and lights, and these rehearsals jump throughout the show to focus on the problem parts, so cast and crew are kept on their toes.   They are in for almost-daily rehearsals from 12:30pm – 5:30pm, then crew and stage managers are called at 6:30pm for an 8:00pm show,  then the production staff and stage managers finish the evening with a production meeting. Stage managers are in for more than 12 hours a day.

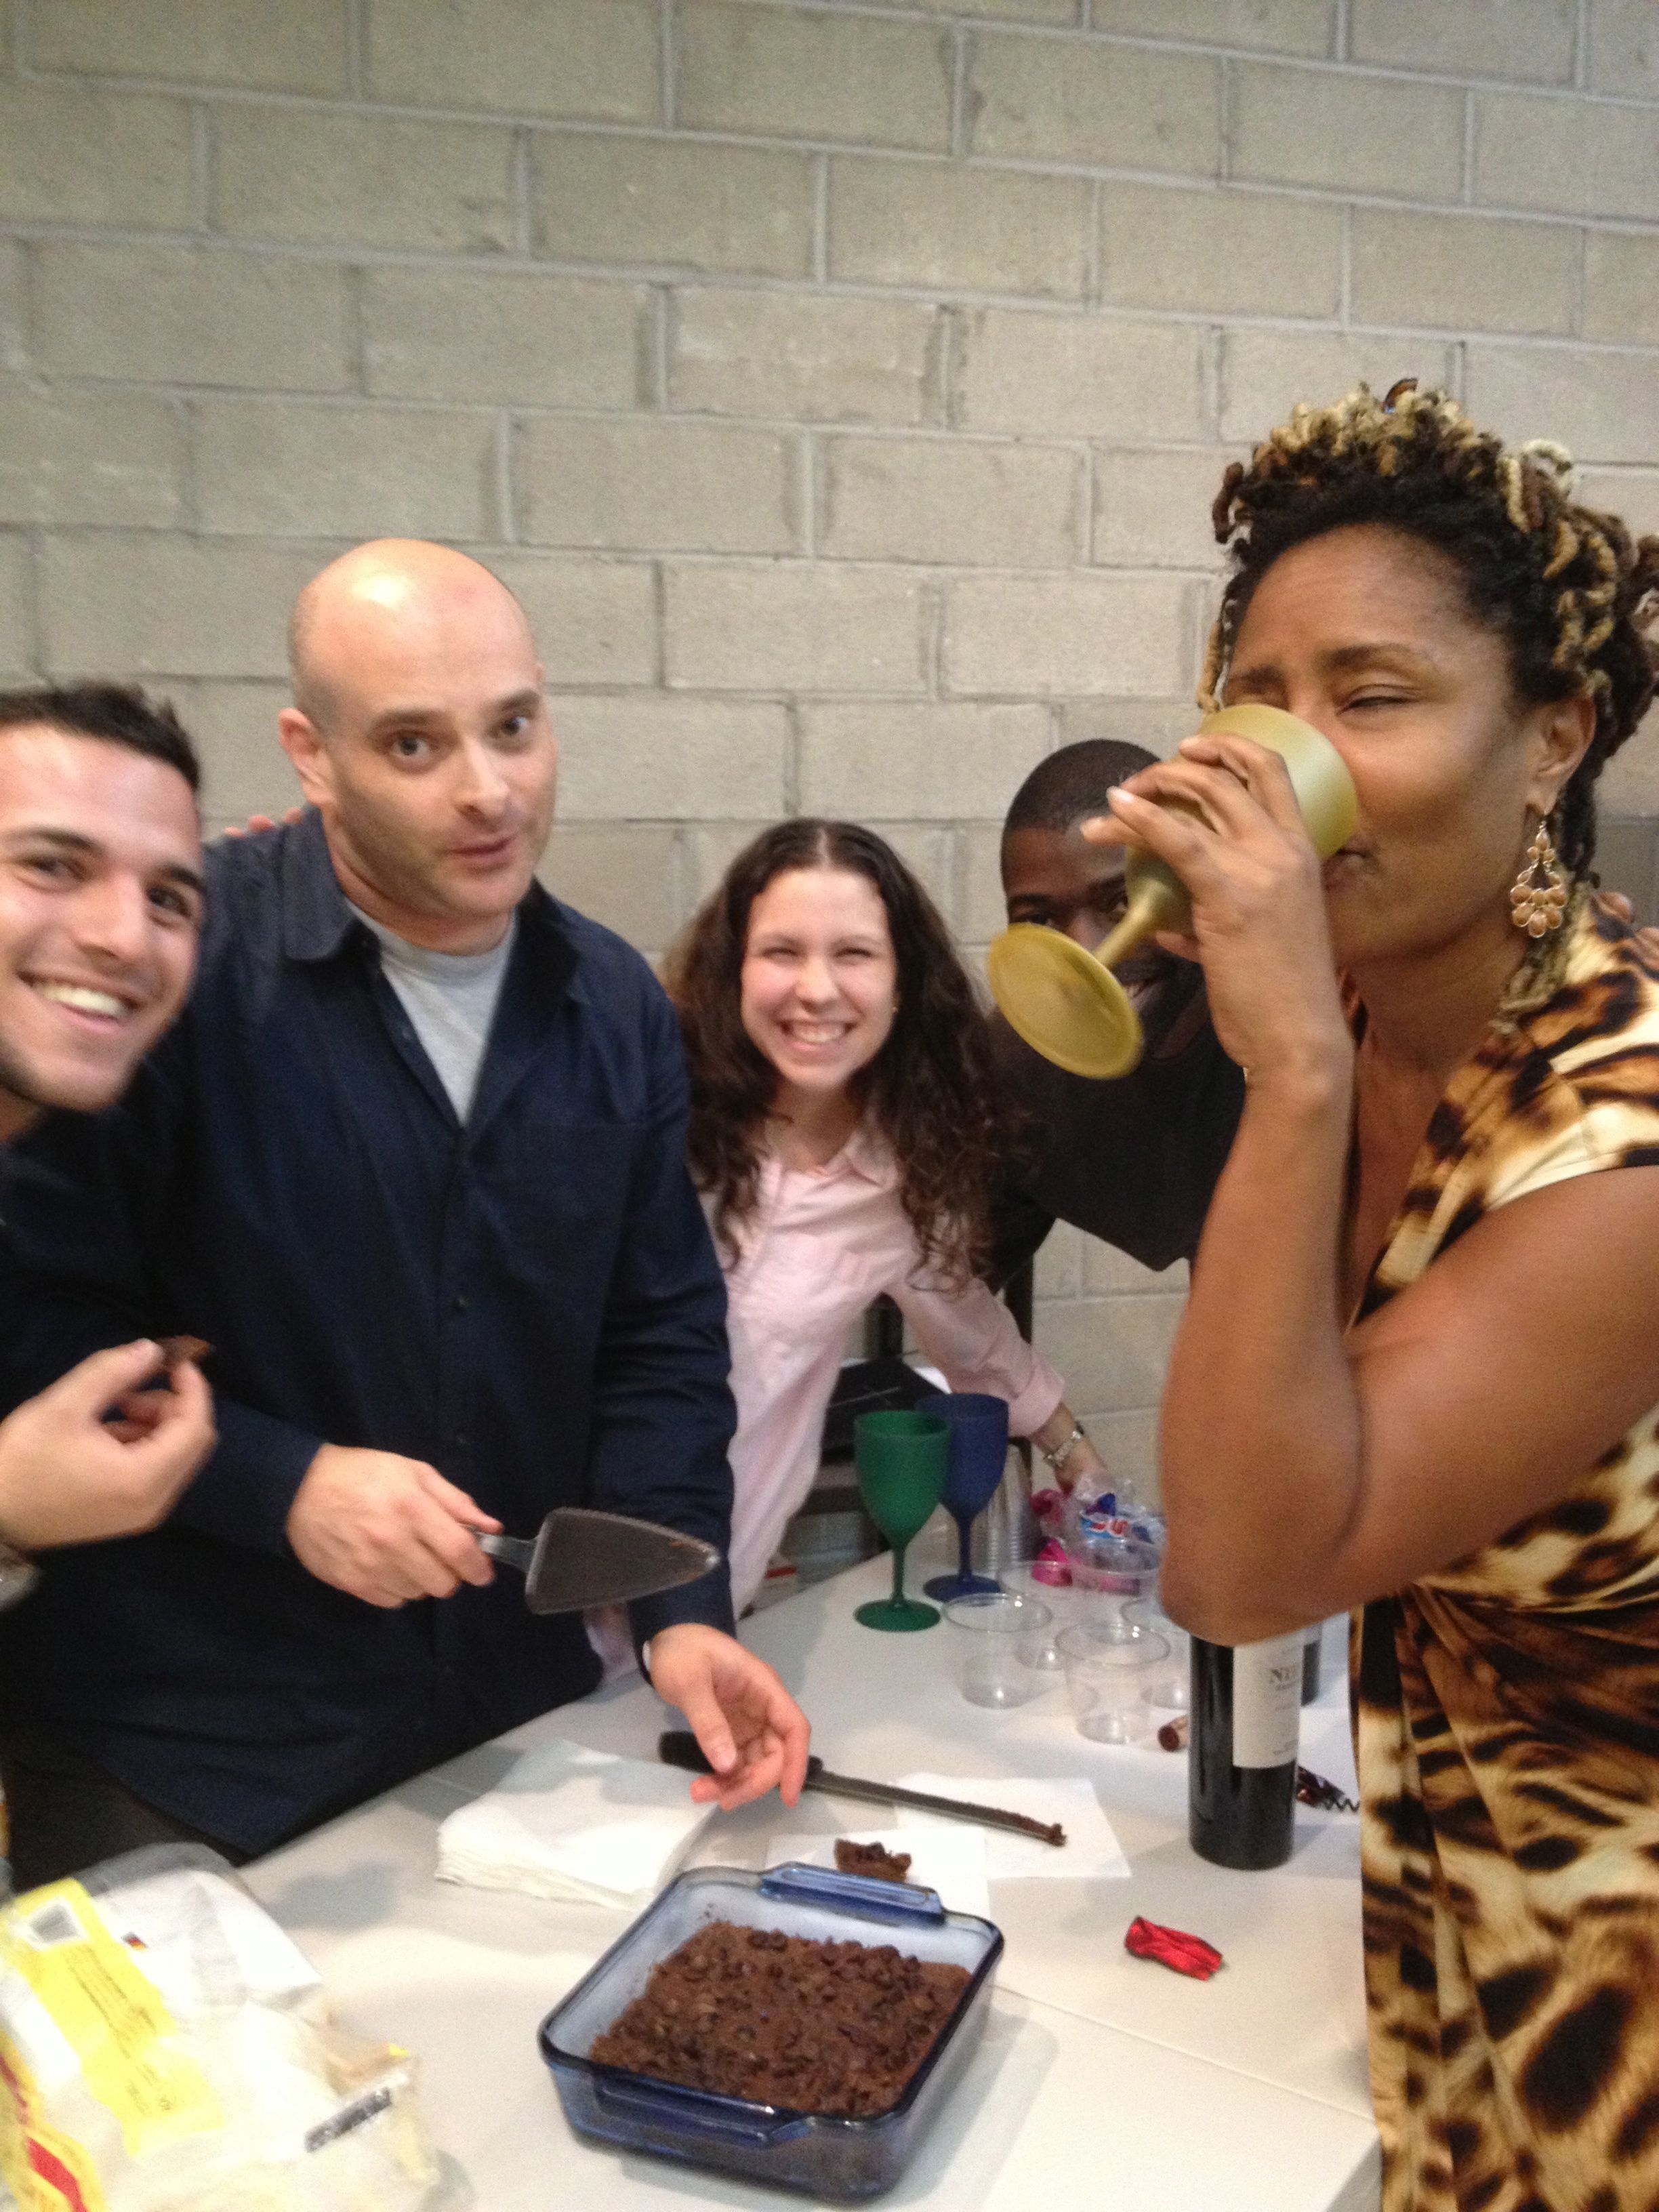
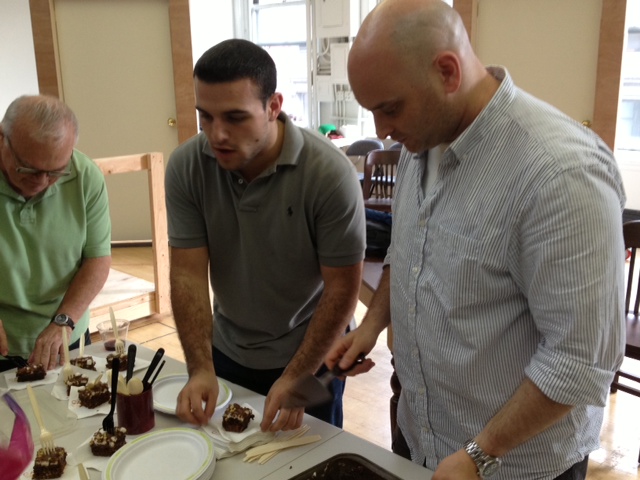
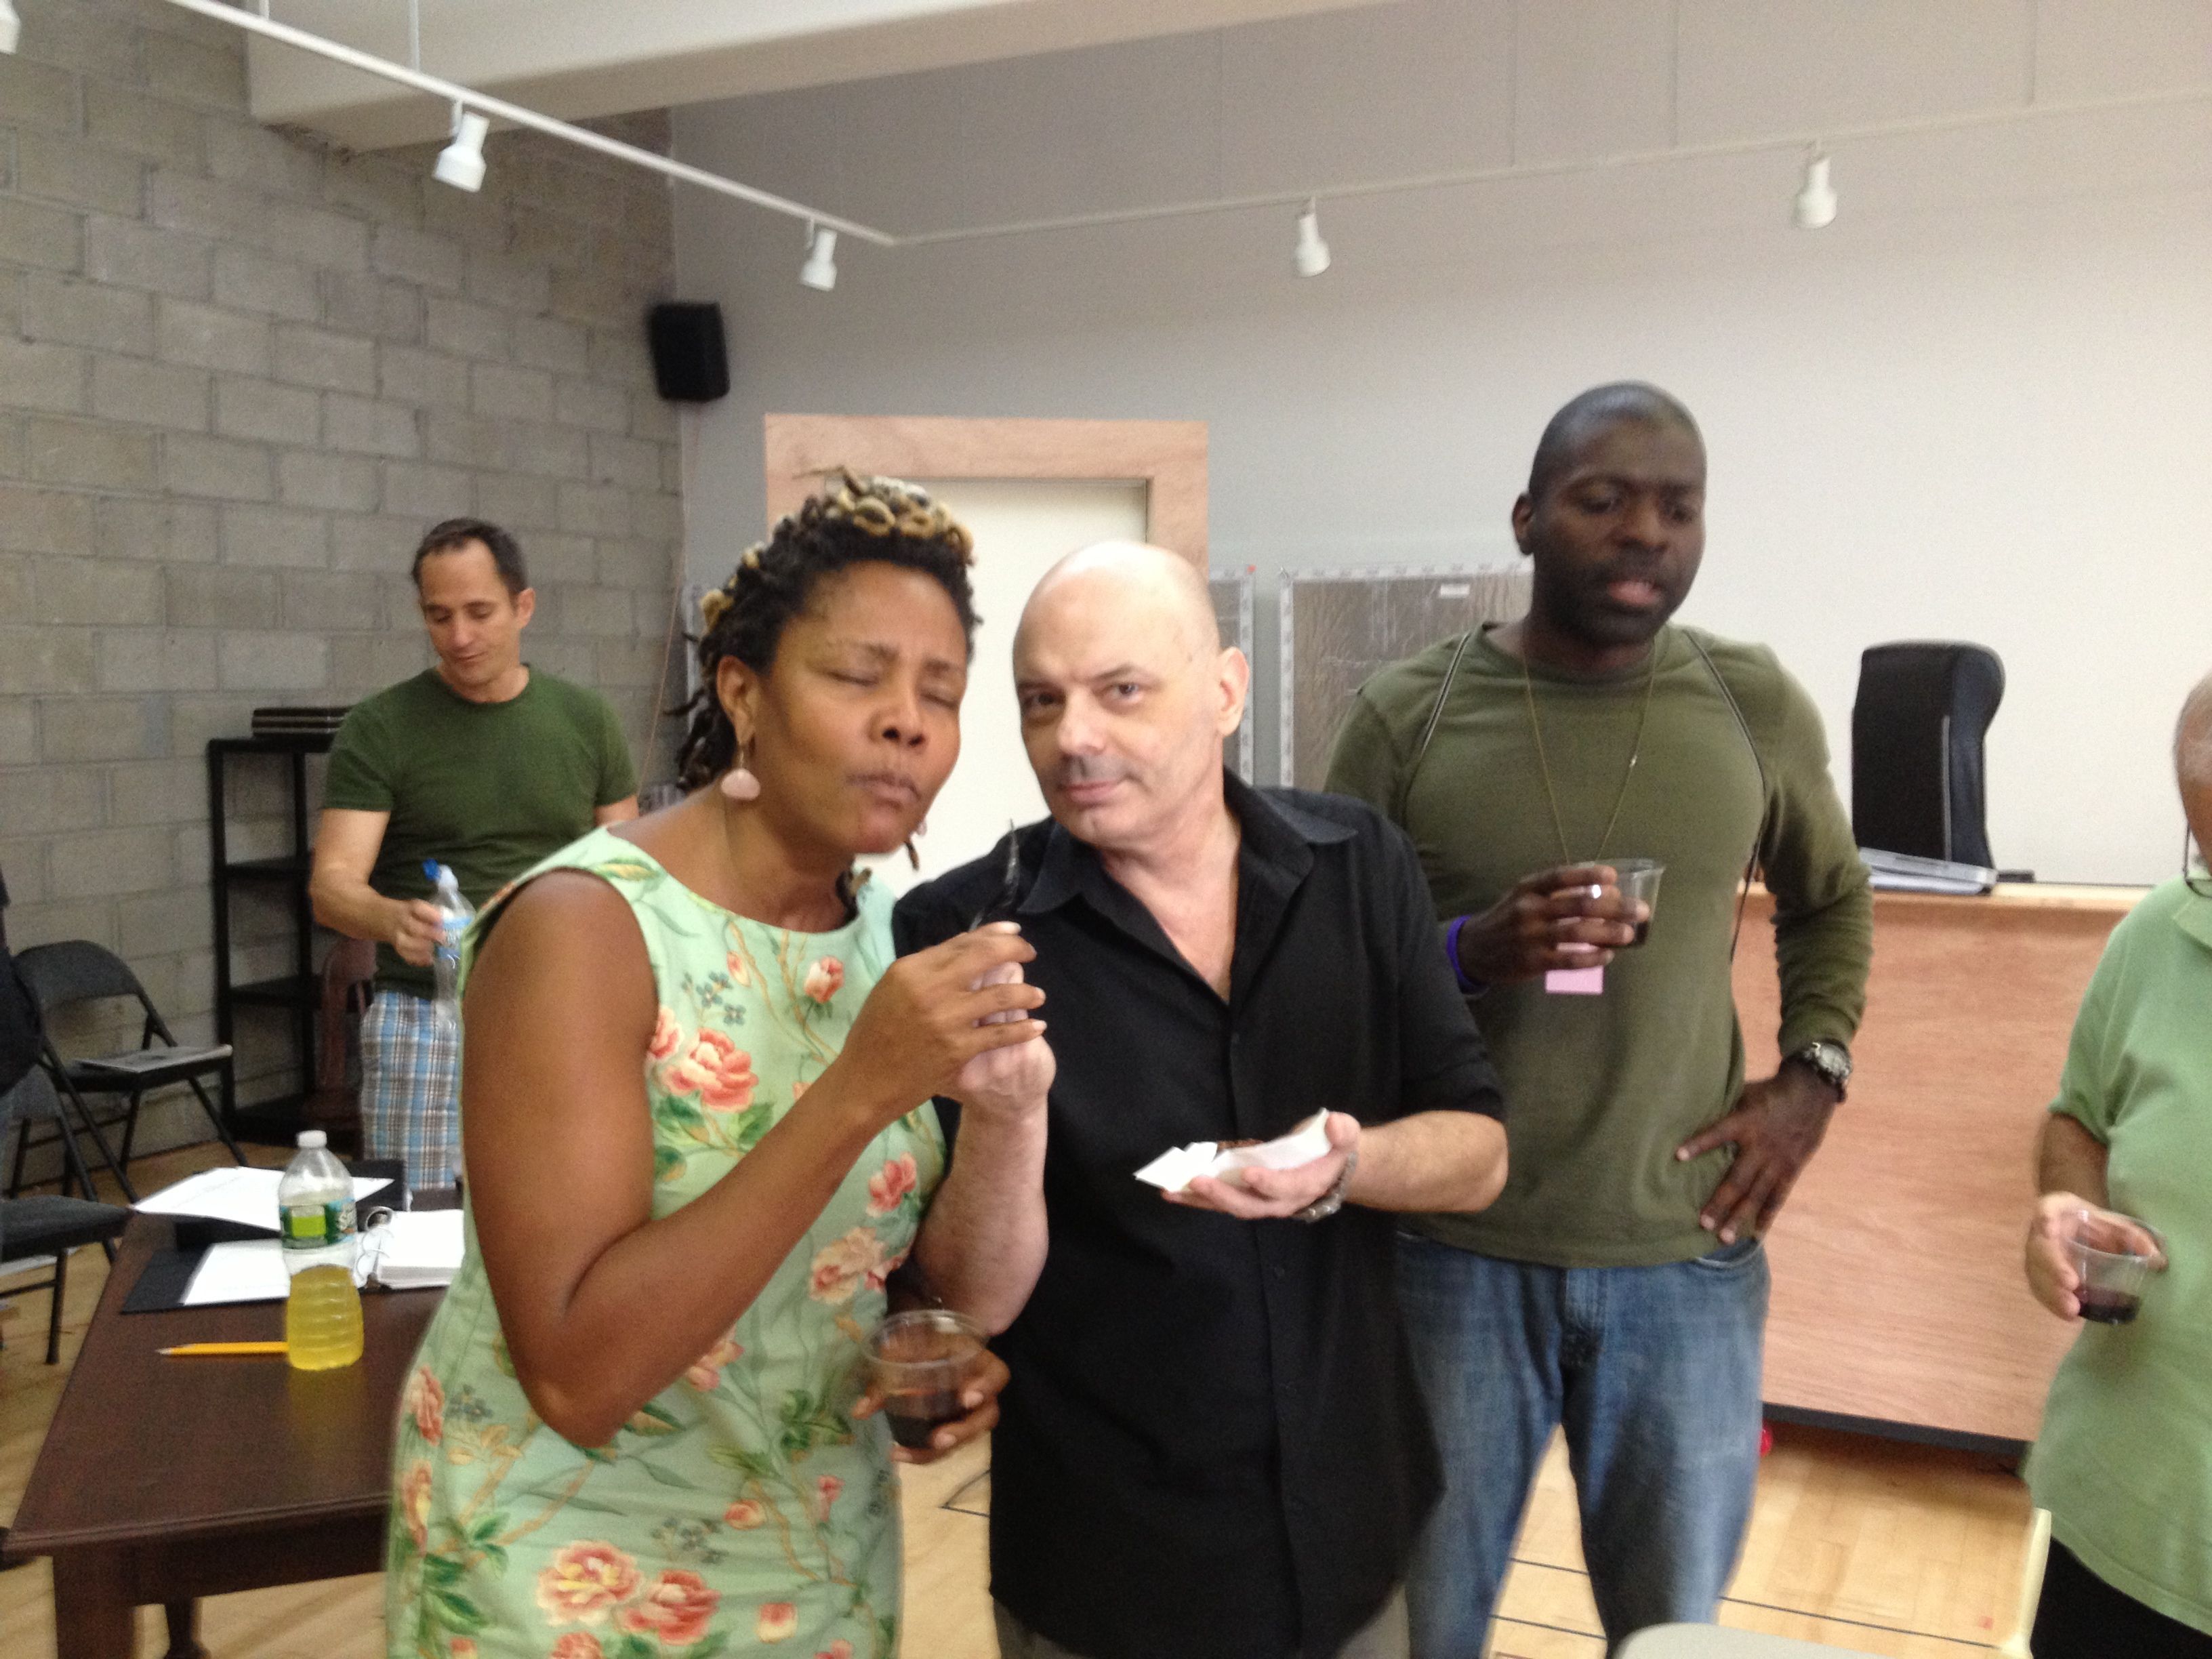
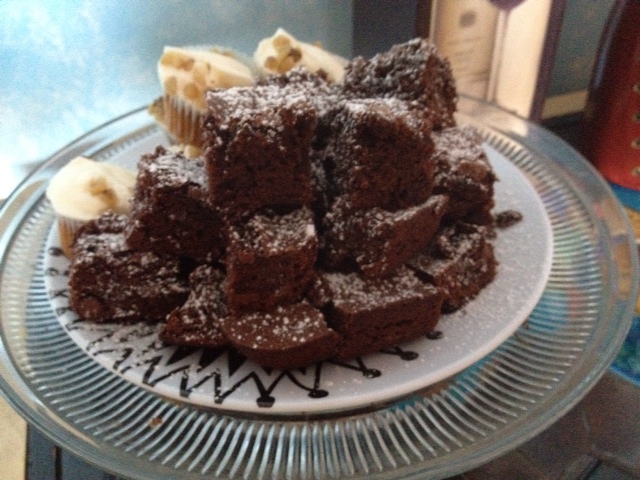
It rather goes without saying that James did not have the luxury of baking something too elaborate or time-consuming for their first Wine and Unwind at the theater.   So, he turned to a tried and true PTA bake sale recipe I’d sent him a while ago, adding his own distinctive fillip with chopped almonds and flaked sea salt on top of the chocolate. They were a hit with the wine. (James also thought they were appropriate since “All the Way” stars Bryan Cranston,  star of the TV series “BREAKING BAD”!)

Salty Chocolate Breakaways

Ingredients:
1 sleeve Saltine crackers
1 cup sugar
1 cup butter (2 sticks)
1 bag Nestle’s chocolate chips
1 Tablespoon Flaked Sea Salk
1/4 finely chopped almonds

Method:
1.  Line a cookie sheet with aluminum foil, then place Saltine crackers on foil.
Melt butter in microwave, then add sugar to butter and stir. Evenly spread the butter and sugar mixture on crackers and bake in a preheated 350°F oven for 20 minutes.

2.  Remove from oven and sprinkle chocolate chips over entire cookie sheet. Return it to the oven just long enough to melt the morsels.

3.  Remove from oven and spread chocolate evenly. Sprinkle on salt and almonds and then place in refrigerator to cool. When cool, peel back the foil and break into pieces.

breakaways5

Who knew that a Cotes du Ventoux would pair so beautifully with saltines, butter, sugar and chocolate?

breakaways3

Production Stage Manager Matthew Farrell, Production Assistant Sarah Perlin, Cast Member Robert Petkoff, Follow Spot Operator John Kelly.

Triple Chocolate Cupcakes with Red Wine Chocolate Glaze

Red wine cupcakes2For last Sunday’s Wine and Unwind after Week #2 of rehearsal, James made these fantastic Triple Chocolate Cupcakes with a red wine chocolate glaze.  (The balsamic vinegar in the topping really brings out the chocolate.)  He’s made Red Wine Chocolate Brownies in the past (for recipe click here), but these are on a whole different level.  (Can I just say that this recipe contains one of my favorite instructions ever:  “Pour in the wine, vanilla, oil and eggs.”  It just sounds so, well, Classic in that Roman/Greek mythological sense.)

Regarding the show, James tells me that it is Shakespearean in its epic scope.  You’ve got assassinations, war, power struggles, and hubris playing out against the backdrop of 1960s America.  This production, by the way, originated last year at Cambridge’s American Repertory Theater and received stellar reviews (here’s just one, from Variety).  Previews for this Broadway production begin on February 10 and the show is a strictly limited engagement, only running through June 29, so get those tickets now!!

It’s been whirlwind of rehearsals so far — about half the cast did the ART production, but the rest are new to the show, so the vibe in the rehearsal room has been intense.  And the cast is onstage for a week of tech starting this Tuesday!  So soon!  They’ll need all the chocolate they can get.

Triple Chocolate Cupcakes with Red Wine Chocolate Glaze

Cupcake Ingredients:
3 cups all-purpose flour
2 cups granulated sugar
1 tablespoom baking powder
1/2 teaspoon salt
1/2 cup unsweetened cocoa powder
6 eggs
1 1/2 cups red wine (James used a Malbec, but any full-bodied red will do)
2 teaspoons vanilla extract
1/2 cup vegetable oil
1 cup dark chocolate chips (melted)

For Red Wine Chocolate Glaze:
2 1/2 cups dark chocolate chips
1 14oz. can sweetened condensed milk
1/2 cup red wine (same as used in the cupcakes)
1/2 cup Karo syrup
4 teaspoons balsamic vinegar

Additional chocolate to shave for decoration

Method:

For cupcakes:
1.  Preheat oven to 325º F.
2.  Line 2 cupcake pans. (Tip: After you line the pans, spray the liners with some non-stick spray. It will keep the cupcakes from sticking to the paper. Don’t spray if you are using the foil liners or the cupcakes will fall out when you are icing)
3.  In a large mixing bowl sift together the flour, sugar, baking powder, salt and cocoa powder. Mix everything so that it is evenly distributed.
4.  Make a “well” in the center of the dry ingredients.  Into the well, pour in the wine, vanilla, oil and eggs.  Mix on low speed until combined and lump free.
5.  Pour in the melted chocolate chips and mix until thoroughly combined.
6.  Fill lined cupcake pan. Fill each liner to the top. Important to do this so you get a nice dome on each cupcake.
7.  Bake for 20 to 25 minutes. The cupcakes will puff quite a bit, and when done should be slightly firm to the touch, but be able to spring back.

Let cool slightly before dipping in chocolate wine topping.

For topping:
1.  Microwave everything in a microwave safe bowl for two minutes.
2.  Remove from microwave, carefully, and stir until smooth and shiny.
3.  Let cool, and dip cupcake tops into the chocolate. Repeat after they’ve set up a bit. Garnish with shaved chocolate.

Red Wine cupcakes

Salted Chocolate Caramels

Salted Chocolate CaramelsOkay, I’ve hijacked this blog once again to post a recipe of my own.  Well, not exactly my own, it actually comes from the now sadly defunct “Gourmet Magazine,” circa 2006.  But this is my go-to Christmas gift.  Some people bake scads of holiday cookies and while I’ve done that too, it’s these Salted Chocolate Caramels that people actually remember and ask for, year after year.  So here’s the recipe.

One important note:  Candy thermometers and specific temperatures can make a recipe sound onerous and difficult, but the secret to this one is to read it all the way through each time you make it.  I know, you’re ALWAYS supposed to read recipes all the way through, but I’m lazy and don’t.  Trust me when I tell you I’ve thrown out just about as many batches as I’ve given away.  And really, it’s all because I forget to read through the recipe.  Just do it.  It’s really not that hard.  (The recipe, that is!)

Salted Chocolate Caramels
(from Gourmet Magazine, 2006)

Ingredients:
2 cups heavy cream
10 1/2 oz fine-quality dark chocolate (no more than 60% cacao if marked), finely chopped
1 3/4 cups sugar
1/2 cup light corn syrup
1/4 cup water
1/4 teaspoon salt
3 tablespoons unsalted butter, cut into tablespoon pieces
2 teaspoons flaky sea salt such as Maldon
Vegetable oil for greasing

Method:
1.  Line bottom and sides of an 8-inch straight-sided square metal baking pan with 2 long sheets of crisscrossed parchment.

2.  Bring cream just to a boil in a medium-sized saucepan over moderately high heat, then reduce heat to low and add chocolate. Let stand 1 minute, then stir until chocolate is completely melted. Remove from heat.

3.  Bring sugar, corn syrup, water, and salt to a boil in a 5- to 6-quart heavy pot (I like to use a ceramic-coated, Le Creuset-style Dutch oven) over moderate heat,  stirring until sugar is dissolved. Boil, uncovered, without stirring but gently swirling pan occasionally, until sugar is deep golden, about 10 minutes.

4.  Carefully pour in chocolate mixture (be warned:  mixture will bubble and steam vigorously). Continue to boil over moderate heat, stirring frequently, until mixture registers 255°F on thermometer, about 15 minutes.  Be precise about this temperature — anything above 255 will give you an almost solid, hard candy.

5.  Add butter, stirring until completely melted, then immediately pour into lined baking pan (do not scrape any caramel clinging to bottom or side of saucepan or else your finished product will have a burnt flavor to it.)

6. Let caramel stand 10 minutes, then sprinkle evenly with sea salt. Cool completely in pan on a rack, about 2 hours.

7.  Carefully invert caramel onto a clean, dry cutting board, then peel off parchment. Turn caramel salt side up.

8.  Lightly oil blade of a large heavy knife and cut into 1-inch squares.

Yield: 64 caramels

More notes: Additional sea salt can be pressed onto caramels after cutting.

Caramels keep, layered between sheets of parchment or wax paper, in an airtight container at cool room temperature 2 weeks or they can be wrapped in 4-inch squares of wax paper; twist ends to close.

Check out my pal Miranda Levenstein’s recipe blog here — she has this recipe posted there too, but with how-to pictures.

Egg Nog and Chocolate Babka – A Sublime Holiday Partnership

Babka

Now these next two recipes are from me, not our Backstage Baker, but he has given his seal of approval for both.  And, if I do say so myself, they really are a perfect treat for the holidays.   I made them both last Sunday and enjoyed them with my boys after we participated in a local Messiah sing-a-long.

I just have to digress and tell you about this Messiah.  On one level, I must confess, it was the most ear-cringingly bad rendition of this holiday classic that you are ever likely to hear.  The orchestra was chaotic, the singers were pitchy, and no one, it seemed, could count.  Handel must have been rolling over in his grave.

However, it was, conversely, also one of the most magical Messiahs I’ve ever experienced.  Everyone involved was in the same boat – all doing our very best to steer through the treacherous waters of a very sophisticated and difficult oratorio.  And we all had to approach it with the same sense of enthusiasm and willingness to fail in order to perform.   No one could judge anyone else because, well, no one knew their part perfectly.  My inner soprano, of course, sat next to my inner critic, and they tsk’d and humpf’d and shook their heads at the untold mistakes swirling about:  “If you’re going to be THIS bad, then don’t do it at all!” they cried.  However, we collectively refused to buy into negativity and pushed on regardless.   And every once in a while we all got it together and were rewarded with a glorious, perfect chord or three.  Like in the Hallelujah – everyone could belt that out and it was divine.  Those few moments of sublime partnership made the rest of it all worthwhile.  And, in the end, isn’t that what the holidays (and life) are all about?

Light Egg Nog

I love egg nog, but it’s often so heavy and fatty that I can’t eat anything else after a glass.   And who wants to miss eating all those delectable holidays treats?  So, I’ve experimented over the years with various “light” recipes that I’ve found in magazines and on the Internet, and this is what I’ve come up with.  My kids ask for it every year and now, they can even (mostly) make it themselves!

SBC Nog making

Ingredients:

2 cups milk
2 large strips orange or lemon zest
1 vanilla bean (or 1 tsp. vanilla extract)
2 large eggs + 1 egg yolk
1/3 cup sugar
1 teaspoon cornstarch (dissolve it thoroughly in 1 tablespoon of warm water to avoid lumpy nog!)
White run or bourbon (optional.  Do not give liquored up nog to children.)
Ground nutmeg, for garnish (freshly grated if you have it!!)

Method:

1.  Combine 1 1/2 cups milk and citrus zest in a medium saucepan.  Split vanilla bean in half and scrape out seeds.  Add seeds and pod to pot and bring to a simmer.

2.  Meanwhile, whisk eggs, cornstarch and sugar in a medium bowl until pale yellow.

3.  Gradually pour hot milk mixture into egg mixture, whisking constantly, then pour back into saucepan.  Place over medium heat and stir constantly with a wooden spoon until slightly thickened, about 8 minutes.

4.  Remove from heat and immediately stir in last 1/2 cup of milk to stop the cooking.  Sit bottom of pot into a large bowl with ice and water, stirring until cool.  Chill further in fridge until ready to serve.

5.  Removed zest strips and vanilla pod.  Spike with liquor, if desired and garnish with nutmeg.

Bread Machine Chocolate Babka (adapted from Cooking Light Magazine, 2009)

Ingredients:

For babka dough:

3/4 cup warm, 1% milk
6 tbsp. sugar
1/2 tsp. vanilla extract
1 large egg yolk, lightly beaten
1/4 tsp. salt
2 1/4 tsp. active dry yeast
1 2/3 cups all-purpose flour
1 1/4 cups bread flour
5 tbsp. butter, cut into pieces

For babka filling:
1/2 cup sugar
3 tbsp. unsweetened cocoa
1/2 tsp. ground cinnamon
1/4 tsp salt
4 oz. mini chocolate chips (or finely chopped semi sweet chocolate bar)

Method:

1. Put all dough ingredients (in order listed above) into bread maker and set on “Dough” setting.  When dough is complete, remove from bread maker and stretch/roll/knead it out into a 16″ square.

2. Sprinkle filling over dough, leaving a 1/2″ border around the edges.

3. Roll up dough tightly, then twist, pinching seam and ends to seal. Fit dough into bread loaf pan that has been coated with cooking spray. Allow to rise for 45 minutes.

4. Bake in 350* oven for approximately 40 minutes (until brown on top and sounding hollow when rapped on bottom.)

5. Coo1 completely (or at least mostly) before slicing, otherwise it will fall apart!

NOTE:  I have split the dough into thirds and made mini-babkas in mini-loaf pans.  These make excellent holiday gifts!

Red Wine Brownies

Red Wine Brownie1Yup, you read that right — RED WINE in your Brownies.  How’s that for multi-tasking??

Sadly, the Time to Kill cast needed a lot of red wine last Sunday as their closing notice went up the following Tuesday.  So, if you haven’t had a chance to see the show, hurry on down because their last performance will be Sunday, November 17.

Anyone who’s in theater knows full well that it’s call “Show Business”, not “Show Art”  or “Show The Audiences Love it.”  Nope, it’s a business, pure and simple, and if the people aren’t buying tickets, the show can’t be sustained.  Sigh.  It’s always such a shame to see all that hard work end so abruptly but those are the breaks, folks.  No doubt everyone, our Backstage Baker included, will be quickly moving on to other projects.  Let’s send them all our very best mojo!

Now, on to the red wine brownie recipe:

Red Wine Brownies

Ingredients:

5 oz. unsweetened chocolate , melted
(or 1 cup cocoa + 4 tbs oil)
1-1/2 stick butter (3/4 cup)
1 cup cake flour
1/2 tsp. baking powder
1/4 tsp. salt
1-1/2 cup sugar
2 tbsp. superfine sugar
2 large egg
2 tsp. vanilla extract
1 bottle (23.5 oz) dark red wine (zin/syrah/merlot/etc)
1/4 cup brandy

Method:

1.  In a saucepan, combine wine and 1/2 cup sugar. Stir to dissolve and bring to a rolling boil. Reduce heat and simmer until reduced to about 1/2 cup. Let cool.

2.  Preheat oven to 350.  Combine cake flour, baking powder, and salt into a mixing bowl. 

3.  Stir together chocolate and butter. When chocolate mixture is smooth, whisk in remaining sugar, then eggs one at a time. Fold into flour mixture until loosely combined.

4.  Fold in wine syrup and stir until most lumps have disappeared.

5.  Pour into 9×13″ greased and floured brownie pan.

6.  Bake 18-20 minutes, or until a toothpick inserted in the center comes out clean. (Better undercooked than overcooked.)  When cool, combine superfine sugar with brandy and brush over brownies. 

7.  I then drizzled melted white chocolate over the top for a dramatic effect.  (Of course you did, James!  Because red wine and chocolate simply wasn’t enough!!)

IN A HURRY? Cheat. Use Brownie Mix, but add a cup of good dark chocolate chips or chunks or shavings, replace the water with the red wine syrup, and replace the vegetable oil with good old fashioned butter.

Secret Ingredient Brownies

TTK5Lest you think James has abandoned baking for (gah!) supermarket treats, just know that he has been swamped with rehearsals and tech and rehearsals and previews and rehearsals and . . .  Well, you get the picture.  Opening a Broadway show is a very time-consuming endeavor, and  A Time to Kill  is a big one with lots of pyrotechnics, a turntable and lots of light cues.  (Check out the Broadway trailer here.) Anyway, between it all, James has been practically living at the John Golden Theatre.  So he’s had little time for baking.  (Hopefully, after A Time to Kill  opens on October 20, James will be able to share some more recipes!)

But before all the madness with tech and rehearsals and previews began, James created the following recipe for the Company’s last Wine and Unwind in the rehearsal space.  There are a number of cast members who are gluten-free and/or vegan, which is quite the challenge.   But our Backstage Baker is not to be denied — he is all-inclusive!   Herewith, then, is a divine brownie recipe made with — drum roll please —  BLACK BEANS!!

Black Bean Brownies

Ingredients:

1 1/2 cups black beans (1 15-oz can, drained and rinsed very well)
2 1/2 tablespoon cocoa powder- dutch or regular
1/2 cup quick oats
1/4 teaspoon salt
1/3 cup pure maple syrup or agave (Honey will work, but not for strict vegans.)
2 nunaturals stevia packs or 2 tbsp sugar (or omit and increase maple syrup to 1/2 cup)
1/4 cup coconut or vegetable oil
1 tablespoon pure vanilla extract
1/2 teaspoon baking powder
2/3 cup vegan chocolate chips* (not optional. Omit at your own risk.)
Optional: more chips, for presentation

*  Enjoy Life is a good brand of vegan chips.

Method:

1.  Preheat oven to 350 F.  Grease an 8×8-inch baking pan.

2. Combine all ingredients except chips in a good food processor, and blend until completely smooth. Really blend well. (A blender can work if you absolutely must, but the texture—and even the taste—will be much better in a food processor.)   No seriously, keep blending.  Stir in the chips, then pour mixture into pan.  Optional: sprinkle extra chocolate chips over the top.

3.  Bake the black bean brownies for 15-18 minutes, then let cool at least 10 minutes before trying to cut. Makes 9-12 brownies.

TTK3

The happy cast getting ready to enjoy James’ treat!!

Mississippi Mud Brownies

Mississippi Mud Brownies and wine

James’ new show “A Time to Kill” is based on the best selling book by John Grisham, and set in Clanton, Mississippi.  So, James was inspired  to make a Mississippi Mud Cake for this week’s Wine and Unwind. The common element of all the recipes he found seemed to be marshmallows and chocolate icing.  Here is a super-decadent dessert consisting of a cake-like brownie covered with mini-marshmallows (while the cake is still hot!) then drizzled with homemade chocolate icing.  Mmmm . . . it’s to die for!!  (Or maybe to kill for??)

CAKE serving photo

Assistant Stage Manager David Sugarman and Production Assistant Jeff Brancato serving the cake.

Mississippi Mud Brownies

Ingredients:

1 1/4 cups butter or margarine, softened
1/2 cup unsweetened cocoa powder
2 cups white sugar
4 eggs
1 1/2 cups all-purpose flour
1 teaspoon baking powder
1/2 teaspoon salt
1 3/4 cups chopped pecans (you could also use walnuts but the pecans seemed more “southern”)
2 teaspoons vanilla extract
3 cups of miniature marshmallows
1/2 cup milk
3 cups confectioners’ sugar
1/3 cup unsweetened cocoa powder

Method:

1.  Preheat oven to 350 degrees F (175 degrees C). Lightly grease one 9×13 inch cake pan.

2.  In a large sauce pan over low heat, melt 1 cup of the butter or margarine and the cocoa. Stir often. Remove from heat and add white sugar, beat well. Beat in eggs one at a time.

3.  Combine flour, baking powder, and salt and stir into the egg mixture. Stir in 1 1/2 cups of the chopped nuts and teaspoon of the vanilla. Pour batter into the prepared pan.

4.  Bake at 350 degrees F (175 degrees C) for 35 minutes. Remove cake from oven and sprinkle the marshmallows over the cake. Return to oven for 5 more minutes.  Test cake, and if toothpick comes out clean,  remove from oven.   Spoon chocolate icing* over marshmallow topping while the cake is still hot and spread. The cake will get “muddied” by the spreading action. Sprinkle with the last 1/4 cup of nuts.

*To make icing: Beat together the remaining 1/4 cup butter or margarine, 1/3 cup cocoa, 1 teaspoon vanilla, the milk and the confectioner’s sugar. Once well combined spoon over the still hot cake.

Tonya Pinkins, Lee Sellars, Chike Johnson

Tonya Pinkins enjoying the cake next to Lee Sellars. Chike Johnson to the right of them.

Dashiell Eaves and Ashley Williams

Dashiell Eaves and Ashley Williams unwinding with wine!

Write, Wine and Unwind

Mark Bittman Brownies

Our peripatetic Backstage Baker has returned to the city!  After enjoying a few days of downtime after “The Master Builder” closed at the Brooklyn Academy of Music, James then drove eight hours north to stage manage  “The Romeo and Juliet Project” for the Chautauqua Theater Company.   (I hear it had a cast of 90 and used over 14 rehearsal spaces!)  Now, he’s back in town and already in pre-production for his next Broadway show, “A Time to Kill“.  It starts previews on September 28, so fingers crossed that James will have time for some rehearsal baking . . .

In the meantime, a friend of James’ is working on “The Laramie Project” at Ford’s Theatre.  As part of their Lincoln Legacy Project, Ford’s is presenting an exhibit called “Not Alone: The Power of Response” that recreates the 10,000+ pieces of mail that were received by the Shepard Family after Matthew’s murder.   James had been given a bunch of blank envelopes and needed people to help address them (they wanted as many different handwriting styles as possible.)

It’s a heavy, emotional project.   What better time for a “Write, Wine and Unwind” gathering?

James served summery peach Bellinis and a good red wine along with homemade brownies: “Because of a busy weekend schedule I needed to make something simple. One cookbook I could never live without is Mark Bittman’s HOW TO COOK EVERYTHING. It is a book that every home baker and chef should have. I opted for his brownie recipe. It is so easy and so delicious.   (Note that the melting chocolate technique is not from the recipe but the way I like to do it.)”

And folks dropped by all afternoon to enjoy the brownies and address envelopes to the Family of Matthew Shepard.

letters photo

Mark Bittman’s Brownie Recipe

Ingredients:
8 tablespoons (1 stick) butter, plus a little more for greasing the pan
3 ounces unsweetened chocolate, roughly chopped
1 cup sugar
2 eggs
1/2 cup all-purpose flour
Pinch salt
1/2 teaspoon vanilla extract
1/2 cup chocolate chips (optional)
1/2 cup dried cherries, chopped (optional)
1 tablespoon confectioner’s sugar, for dusting (optional)

Method:
1. Heat the oven to 350°F. Grease a square baking pan with butter or line it by overlapping 2 pieces of parchment paper or aluminum foil crosswise and grease the lining.
2. Combine the stick of butter and the chocolate in a large microwave-safe bowl and microwave them on medium for 10-second intervals, stirring after each interval.   When the chocolate is just about melted, remove the bowl from the microwave and continue to stir until the mixture is smooth.
3. Stir in the sugar. Then beat in the eggs, one at a time, and the vanilla. Gently stir in the flour, salt, then the chocolate chips and cherries (if you’re using them.)
4. Pour and scrape the mixture into the prepared pan and bake for 20 to 25 minutes, until just barely set in the middle. Cool on a rack until set. If you used parchment, lift it out to remove the brownies. If not, cut them in squares right in the pan. I then dusted the cooled brownies with powdered sugar.

Store, covered, at room temperature, for no more than a day.


Wine and Unwind — Brownies stuffed with Peppermint Patties

Brownie photoTech rehearsals began today for “The Master Builder”.  To celebrate the end of studio rehearsing, James served Brownies Stuffed with Peppermint Patties at last Sunday’s Wine and Unwind.

Lighting designer Jim Ingalls, Set Designer Santo Loquasto and Director Andrei Belgrader joined the cast and crew for this end of the week tradition.

All were pleased with the results. Actress Katherine Borowitz decided this was her favorite dessert so far.  (In fact, this recipe has made me add a new category to this blog — Decadent!)

Brownies Stuffed with Peppermint Patties

Ingredients:

1 Tablespoon plus one cup of butter (divided)
8 squares (1 once each) unsweetened chocolate, chopped
4 teaspoons instant coffee granules
1 Tablespoon boiling water
5 eggs
3 3/4 cups of sugar
2 teaspoons vanilla extract
1/2 teaspoon salt
1/2 teaspoon almond extract
1 2/3 cups all-purpose flour
2 cups coarsely chopped walnuts
44 chocolate covered peppermint patties or one bag of the miniatures. Flatten the patties a little bit with your fingers.

Method:

1.   Preheat oven to 425 degrees F.  Line a 13x9x2 inch baking pan with foil. Melt 1 tablespoon of butter, brush over foil, set aside. In a microwave, melt chocolate and remaining butter. Cool slightly. Dissolve coffee granules in boiling water.

2.  In mixing bowl beat the eggs, sugar, coffee mixture, vanilla, salt and almond extract on high for 3-4 minutes or until fluffy. Beat in chocolate mixture and flour until blended. Stir in walnuts.

3.  Pour half of the batter into prepared pan. Top with a layer of Peppermint patties, filling the gaps with broken pieces. Top with remaining batter. Bake at 425 degrees for 23-27 minutes or until top is set (watch them closely, they tend to burn around the edges). Cool on wire rack. Using foil, lift the brownies out of the pan and refrigerate for 6 hours or overnight. Cut into small pieces. They are filling.

Yield- 3 dozen

Gluten-free Good Friday Cookies

James gave me this recipe a while ago, and then they were titled “Black Friday Cookies” to be whipped up and enjoyed the day after Thanksgiving.  No idea why!  But since I’m interspersing our cheesecake recipes with gluten-free ones (for health!), and since Good Friday is coming up, I thought I’d just change the name slightly to be timely.  (Yeah, I know, that’s a bit of a stretch.)GF Chocolate Cookies

Now, the more I experiment with gluten-free baking, the more I understand the importance of reading labels and ingredient quality.  Take this recipe for example — there’s no flour at all in it, but lots of confectioners’ sugar. That should be gluten-free, but I’ve learned that since corn is increasingly being used for bio-fuels, and since we had such a bad corn growing summer last year, corn prices have gone up.  Therefore, some companies are substituting wheat starch for corn starch in their confectioners’ sugar.  Obviously, this would not be gluten-free then. The only solution, then, is to read your labels religiously.  Who knew that ingredients changed?  (I’m sure that this is second nature to those of you who suffer from food allergies, or have been gluten-free for a while, but it is an epiphany for me.)

That said, do not be afraid — this recipe only has six ingredients.  You can afford to take the time (and spend the money!) to make sure each one is of superior quality.  Spend a little extra on good vanilla, high quality cocoa powder and chocolate chips.  You’ll taste the difference!

Gluten-free Good Friday Cookies

Ingredients:

3 cups powdered sugar
2/3 cup unsweetened Dutch-process cocoa powder
1/4 teaspoon salt
2 to 4 large egg whites, at room temperature
1 Tablespoon pure vanilla extract
1 1/2 cups bittersweet chocolate chips (make sure they’re gluten-free!)

Method:

1.  Preheat oven to 350 degrees F. Line two rimmed baking sheets with parchment paper (or silpat mats). If you use parchment paper, give it a light swoosh of nonstick spray.

2. In a large bowl, whisk together powdered sugar with cocoa powder and salt. Whisk in egg whites (start with just two) and vanilla extract, then beat just until the batter is moistened. You’re looking for a brownie-like, thick and fudgy consistency. If it seems too thick, add another egg white — then a 4th one if it still seems too thick. Gently stir in chocolate chips.

3. Spoon batter onto the prepared baking sheets in 12 evenly spaced mounds per cookie sheet. I like to use a small spring-release cookie scoop. Bake about 14 minutes, until the tops are glossy and lightly cracked. Slide the parchment paper (with the cookies) onto wire racks. Let cookies cool completely before you attempt to remove them from the mat or the parchment. They’re delicate, so gently peeling the paper away from the cookie works best.  Store in an airtight container for up to 3 days.