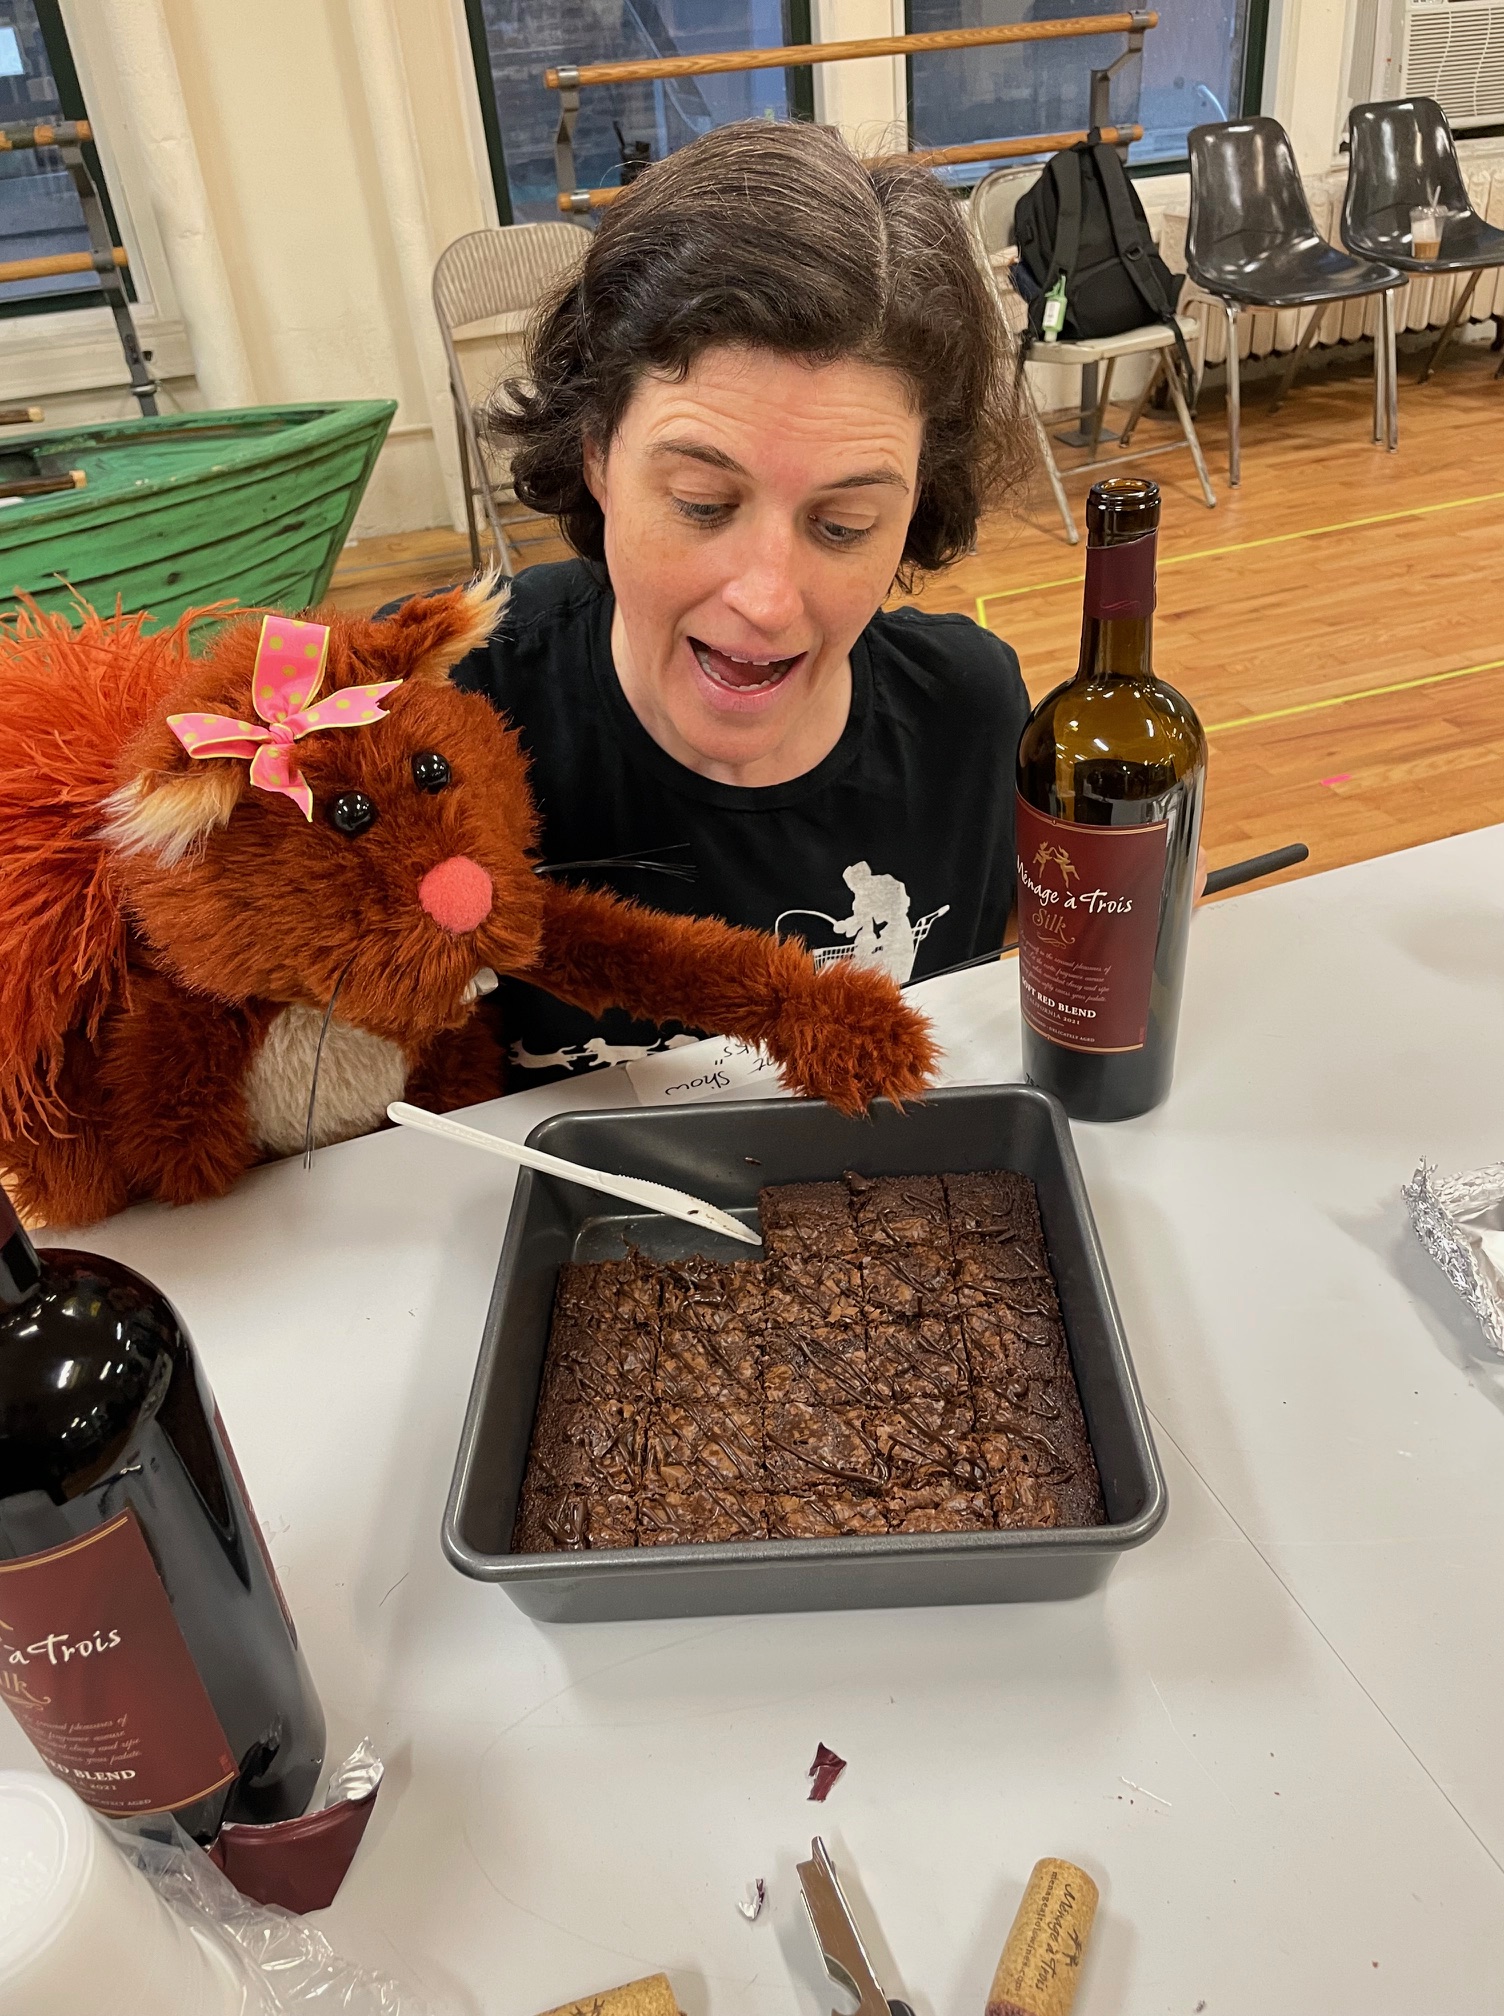

(and, it seems, to enjoy a glass of Menage a Trois red.)
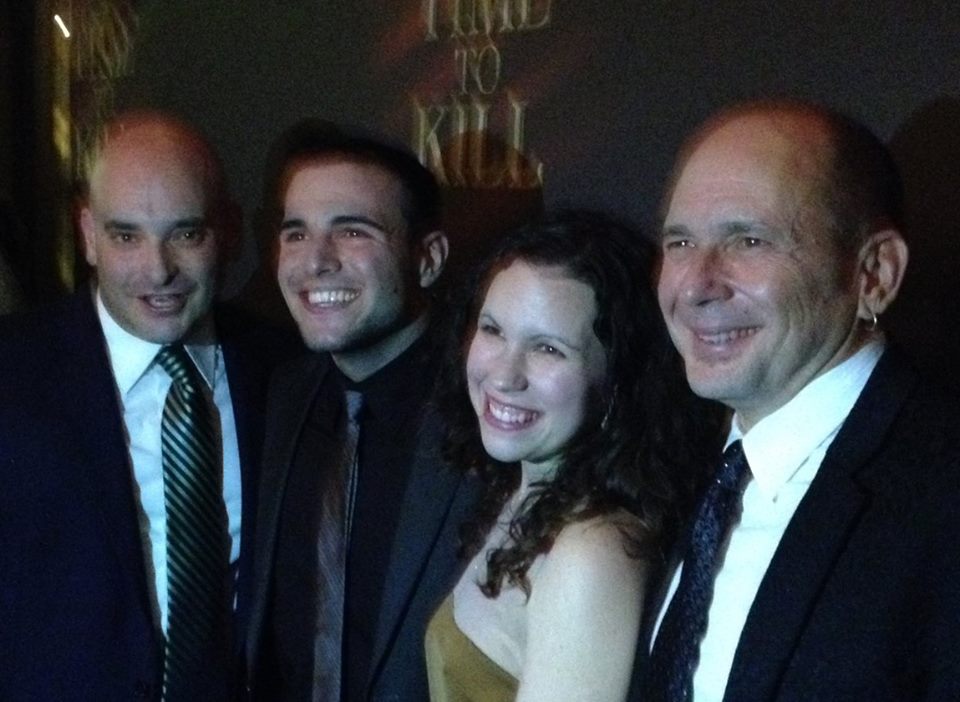
Our Backstage Baker is in Chicago for this holiday season, with “Emmet Otter’s Jug Band Christmas.”
With Jim Henson puppets, music by Paul Williams, direction/choreography by Tony Award-winner Christopher Gatelli, and host of other top drawer Broadway talent, if you’re in Chicago, this is a don’t-miss holiday treat!!
Get your tickets here – “Emmet Otter’s Jug Band Christmas” only runs through December 31, 2023.
(Confession here: I’d never HEARD of Emmet Otter nor his Jug Band Christmas, but my husband immediately began singing songs from it when James told us of this project. Chalk it up to my deprived childhood, where I was only taken to the Met Opera, Shakespeare at the Delacorte, and any and all plays by Eugene O’Neill.)
This recipe is particularly appropriate to the show, since one of the characters is named Nutella. (I also understand there’s a song called “Barbeque” in the show, so expect some sort of BBQ sauce-flavored dessert coming up. If anyone can make something toothsome out of BBQ sauce, it’s our Backstage Baker.)
So please to enjoy this hazelnut and chocolate spread-based delight – it’s probably one of the simplest brownie recipes you’ll ever find.
And if you can’t make it to Chicago this season, here’s a video of a video off a television with 1977-technology of the original television show for your holiday enjoyment.
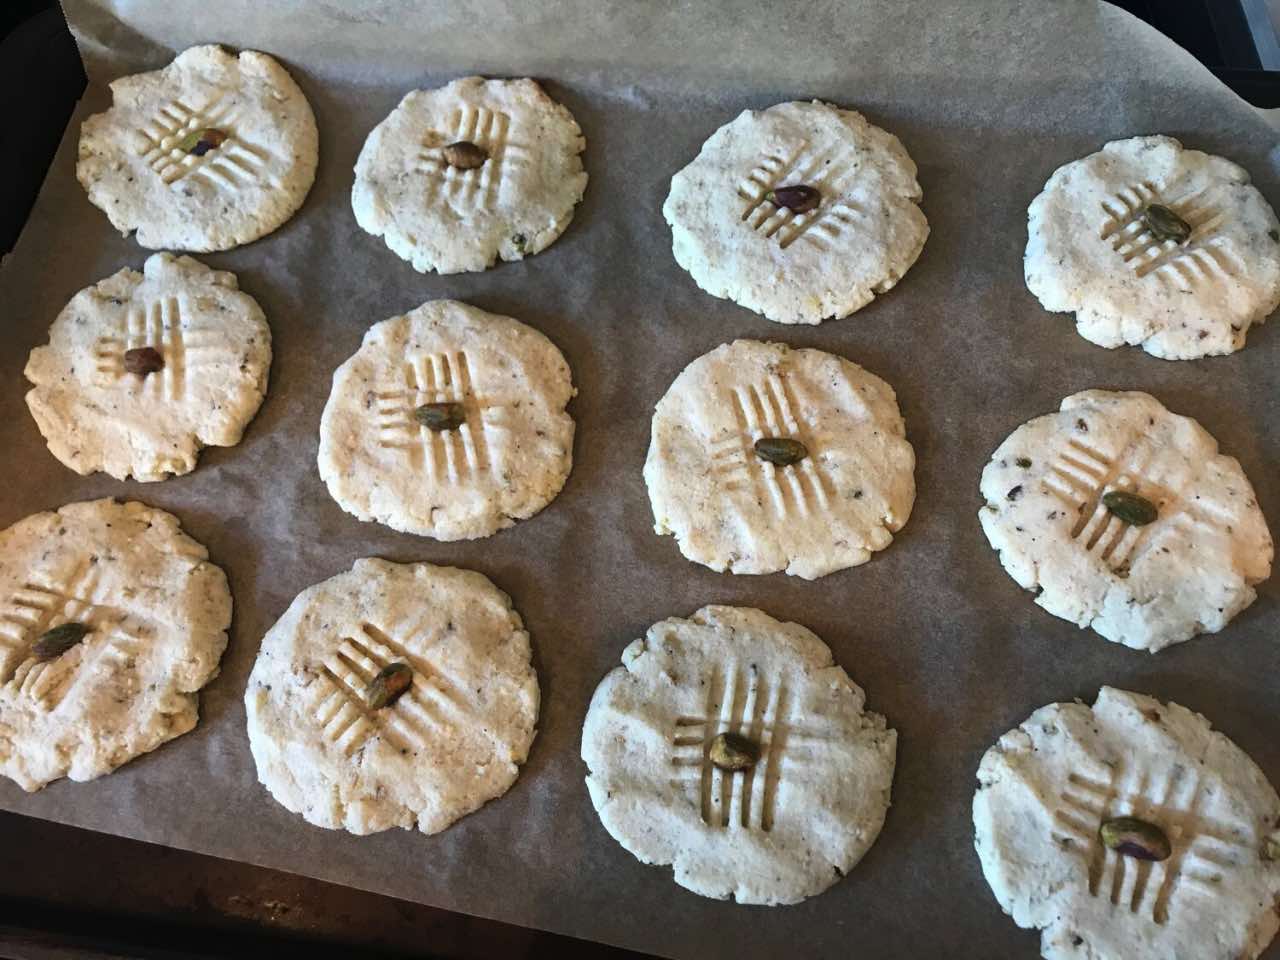
Nutella Brownies (courtesy of New York Times Cooking)
Ingredients
- Non-stick cooking spray
- 1 1/2 cups/442 grams chocolate hazelnut spread (such as Nutella)
- 2 large eggs, room temperature
- 3/4 teaspoon kosher salt (such as Diamond Crystal)
- 1/3 cup/43 grams all-purpose flour
Directions
1. Heat the oven to 350 degrees. Grease an 8-inch square baking pan, preferably metal (see Tip), with non-stick cooking spray and line with a long sheet of parchment paper that extends over two opposite sides of the pan.
2. Whisk the Nutella, eggs and salt in a large bowl until smooth. Gently fold in the flour with a flexible spatula, just until the last streak disappears.
3. Scrape the batter into the prepared pan and bake for 22 to 25 minutes, rotating at the halfway point, until crackly-topped and slightly puffed. A wooden skewer or cake tester inserted in the center should come out just clean. Try not to overbake, as these brownies dry out quickly.
4. Let cool to room temperature before lifting the brownies from the pan with the paper overhang, slicing into 9 squares and serving. Brownies will keep tightly wrapped at room temperature for up to 3 days and in the freezer for up to a month.
TIP
Glass does not conduct heat as well as metal, so it can cause baked goods to cook unevenly and requires an increase in cook time. If using a glass pan, increase the bake time to 37 to 40 minutes, and expect some variation in texture.